TIME REQUIRED: Under 2 hours
DIFFICULTY: Beginner
INTRO:
Painting walls is the perfect way to breathe some life into your interior decor. With so many colour and design possibilities, it is hard to know where to start. If you're stuck for paint ideas check out our sensational Spring colour palette. A simple coat of paint can really bring some warmth to large rooms, or brighten up small spaces.
Now, first thing's first, ensure you have the right equipment for the job. Our fantastically priced Rodo range have all the accessories you will need for your painting project.
YOU WILL NEED:
 Filling Knife
 Paint Roller and Rolling Tray
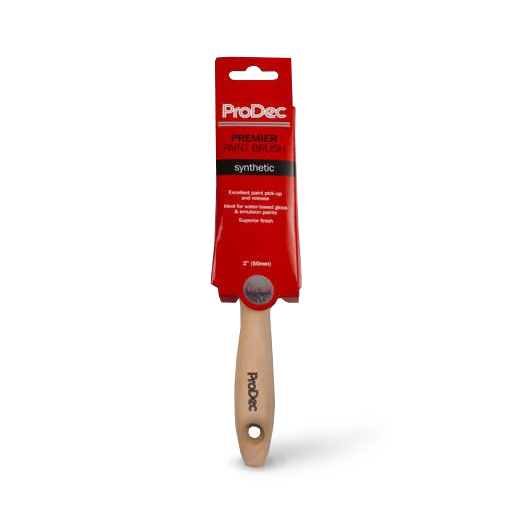 Paint Brush
  Rodo Precision Edge Masking Tape
 Cleaning Rags
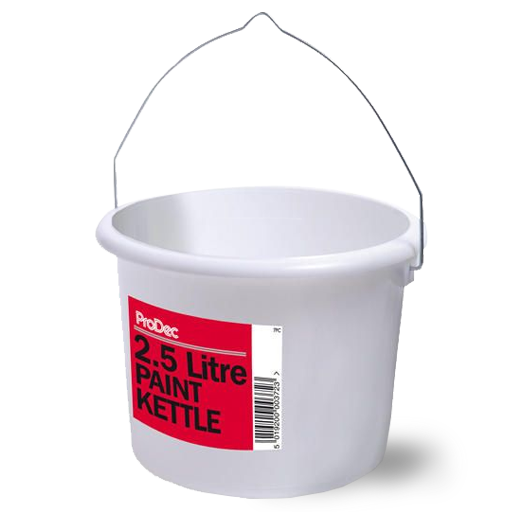 Paint Kettle
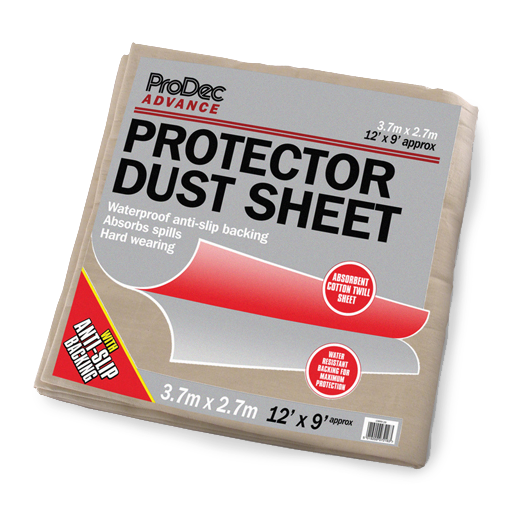 Dust Sheet
Prep Your Walls
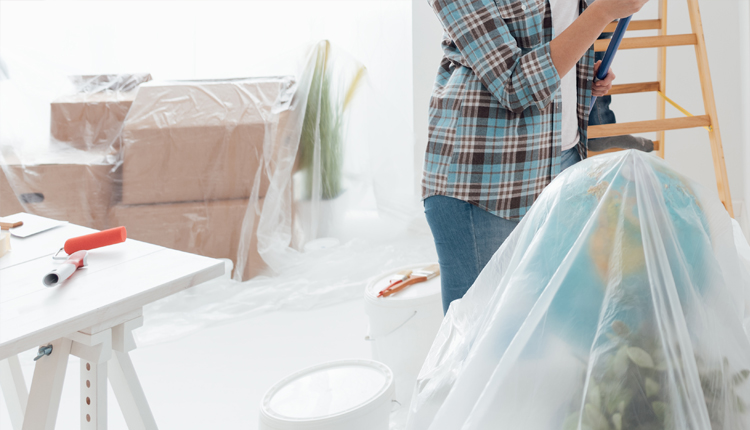
Before you can begin painting your walls, you will need to remove everything. This will ensure the highest quality finish possible.
- Clear area of any furniture to give yourself sufficient working space.
- Lay down a dust street.
- Check the walls for cracks, holes, dents or any other imperfections.
- Use a caulk and Filling Knife to fill and repair these holes/imperfections.
- Remove excess spackling with the putty knife. Let dry completely.
- Use a small piece of very fine 220-grit sandpaper or a sanding sponge to smooth the repaired areas. Flush with the surface.
- Wipe the walls clean with a damp towel or sponge. Allow them to dry.

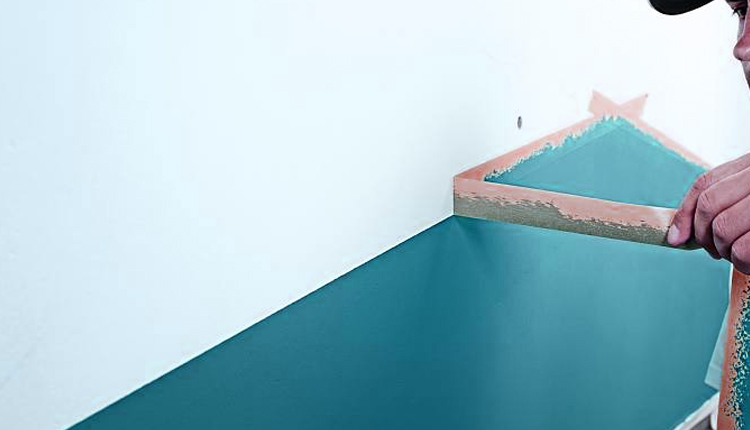
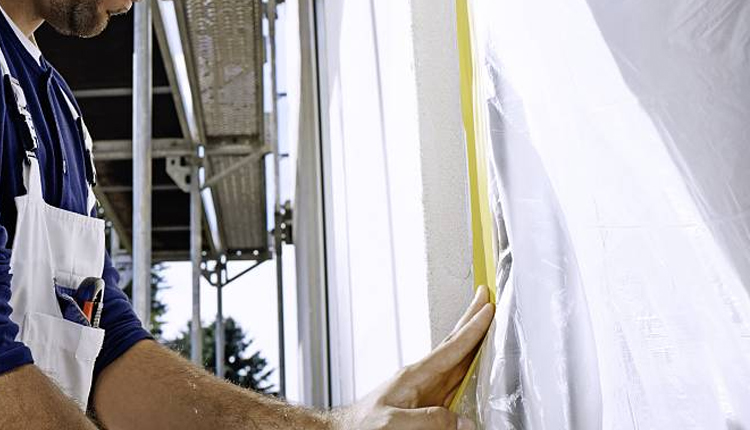
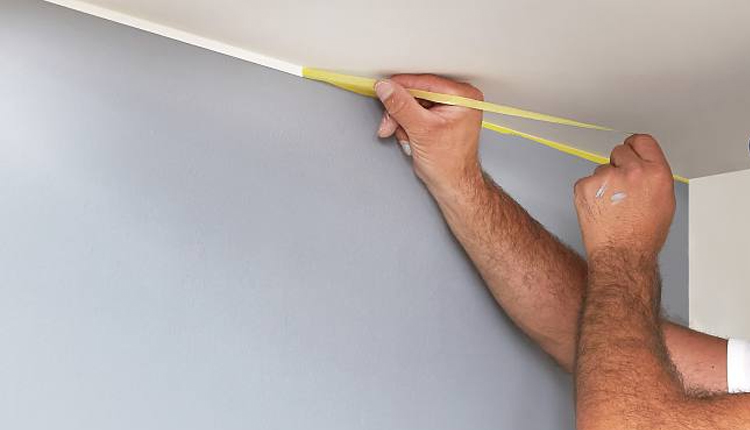
Apply Painter's Tape
Use painter's tape to mask off your moldings, windows, doors and ceilings. Always press the painter's tape down flat and evenly to prevent bleed through.
- For non-textured surfaces, mask it off where it meets the edge of the wall. Apply your painter's tape in short, overlapping strips, pressing down firmly along the edge.
- If you're painting walls with a textured ceiling, simply run a screwdriver along the edge of the ceiling to create a small, unnoticeable, texture-free surface. This will make creating a straight line much easier.
- If you're planning on having an accent wall, mask off the inside edge of that wall from the rest of the room.
Our Top Tip: Choose the right painter's or masking tape adhesion for the job. Some are perfect for textured surfaces, while others are intended for more delicate areas like a freshly painted wall, finished hardwood or wallpaper. Check out our fantastic range of tapes for every project here.
Spread Dust Sheet & Prep Area
Cover the floors with dust sheets to protect them from paint drips and splatters. Clear area of furniture to give yourself sufficient working space. Minimize your clean up after painting a room with the right drop cloth.
- Canvas drop cloths are extremely durable and absorbent. Plus they can be re-used!
- Plastic is durable and less expensive but is not absorbent, so be cautious of spillage as it can be tracked when stepped on.
- Paper is the most economical but can tear easily on floors, so ideal for covering light fixtures, cabinets and furniture.
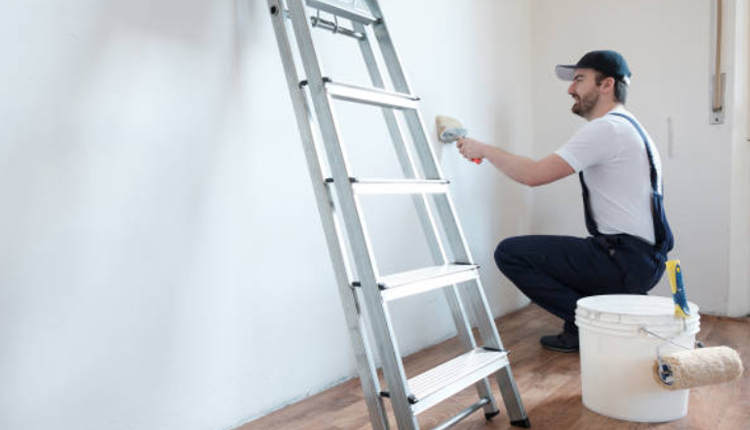
Cut in with Primer
A key step in painting a room is mastering the 'cut in' painting process. Cutting in is essentially outlining the room.
- Use your Paint Brush to create 2- to 2- inch bands around edges, corners and frames of a room.
- When cutting in, you can try to do the entire room at one time. However, your border areas will probably dry before you overlap them. This may result in a slight difference in sheen because the two coats will not blend.
Prime Your Walls
Every time you paint the interior of a house, it is a great idea to prime your walls. Please see our how-to blog for a more comprehensive and detailed guide.
Primers serve many purposes, including sealing the wall and preventing mold. A primer is essential if going from dark walls to light or white walls. Most brands offer paint and primer in one (such as Bedec Multi Surface Paint - a self-priming paint).
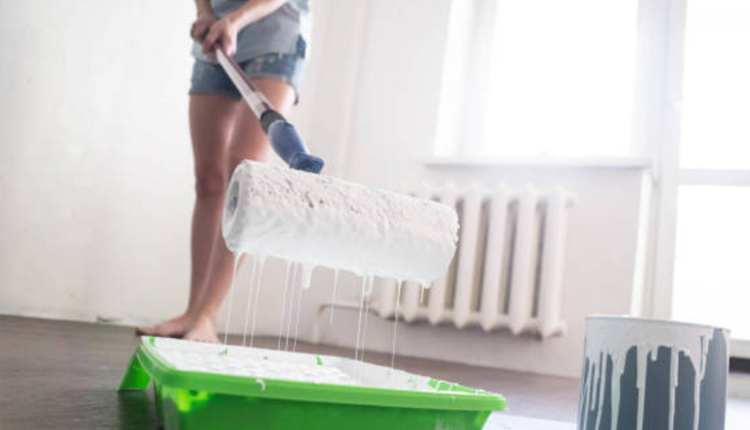
- Start painting the primer in 3- x 3-foot sections. With a fully loaded paint roller, worktop to bottom, rolling back and forth across the wall in a series of V- or W- shaped strokes until the section is covered.
- Roll in one section at a time, moving from top to bottom and from one side of the wall to the other.
- Reload your roller and paint the next section, covering only as much as you can finish whilst the primer is still wet. Always overlap areas of wet primer
Our Top Tip: Please ensure your primer is the same colour as your paint.
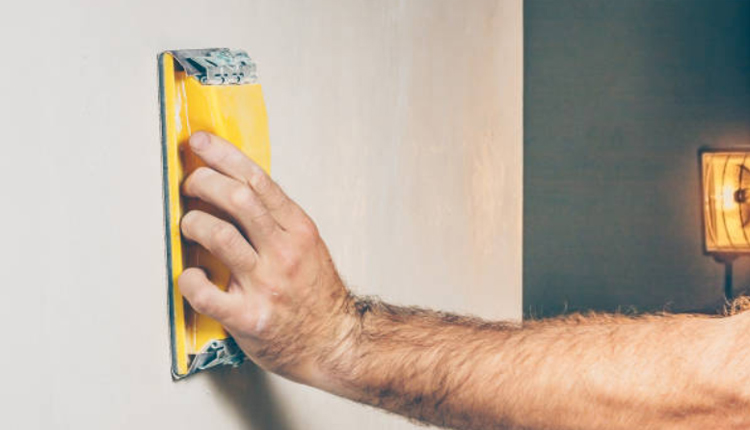
Sand Primer
- After the primer dries, lightly sand away bumps and ridges using very fine grit sandpaper folded into quarters.
- When the grit of one section becomes covered with dust, switch to an unused section and continue.
- Wipe the wall clean with a damp towel or sponge and allow it to dry.
- Gather your tools and wall paint.
Our Top Tip: Re-mix your paint often using a mixing stick or paint-mixing tool. You should do this anytime you leave your paint sitting for a lengthy period.
Cut in and Paint Walls
Paint walls one at a time. You will achieve a smoother, seamless look because you will be able to blend the wet paint you have brushed on with the pet paint you're rolling. This is one of the best painting techniques for walls, also known as 'working to a wet edge'.
- Working top to bottom. Roll back and forth across the wall in a series of V- or W- shape strokes until the section is covered.
- Before reloading your roller and moving to the next section, roll over the area you have just painted in a smooth, continuous stroke from top to bottom. These smoothing strokes even the coat and hel to cover up lines and tracks. Overlap areas already painted, lightly lift the roller off the wall to avoid leaving end marks and to seamlessly blend different areas.
- Wait 2-4 hours for the first coat to dry before applying a second coat. Follow the exact same process and tehniques used when priming your walls, blending sections as you go.
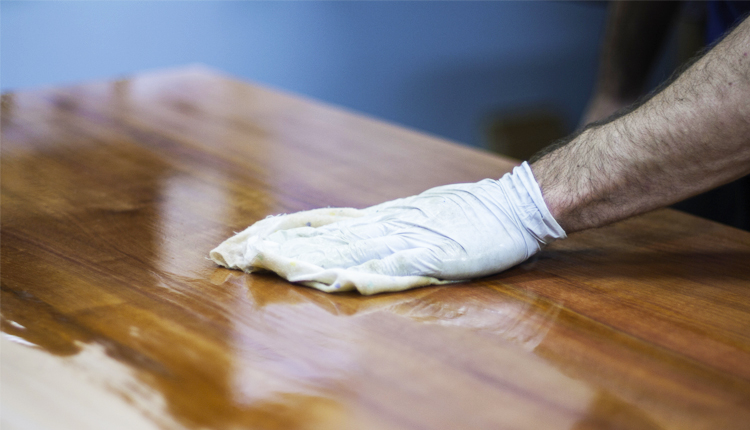
Wipe Down the Surface
- Any stubborn flecks that remain can usually be removed by using the scraper by itself
- When the paint is all gone, wash the surface with denatured alcohol (or mineral spirits)
Wrap Up and Clean
Remove your painter's tape right before or right after the paint dries completely. If left on too long, small pieces of the tape can tear and will get left behind when being removed. Tightly seal remaining paint in cans, thoroughly clean paintbrushes and rollers with warm soapy water, and dispose of used painter's tape.
Our Top Tip: Use a utility knife to slice through any died-on painter's tape whilst putting it up at a 45-degree angle.
You're all done! Enjoy your beautiful new walls.